How to Migrate From BitPay to Paybis: Step-by-Step Guide
TL;DR: Migrating from BitPay to Paybis takes four steps: create a verified Paybis account (under 2 minutes), generate your deposit address, send funds from BitPay, and confirm on the blockchain. Paybis charges zero deposit fees for incoming crypto. You only pay the network fee to miners. The platform operates in 180+ countries with 24/7 support responding in approximately 15 seconds, has earned over 30k Trustpilot reviews with a rating of 4, and shows all fees upfront before confirmation.
If you’ve decided to move your crypto from BitPay to Paybis, you’re probably nervous. And that’s okay. One wrong character in a wallet address means losing your funds forever. But this guide breaks the migration down into four verified steps that follow standard blockchain transfer protocols. This guide walks you through the process with access to 24/7 human support and transparent fees shown upfront before every transaction.
Table of contents
- Why Crypto Users Are Switching to Paybis
- Understanding Self-Custody and Wallet Migration
- Step 1: Create and Verify Your Paybis Account
- Step 2: Locate Your Paybis Deposit Address
- Step 3: Send Funds From Your BitPay Wallet
- Step 4: Confirm the Transaction on the Blockchain
- Fee Breakdown: What This Transfer Actually Costs
- Next Steps After Your Funds Arrive
- Key Terminology
Why Crypto Users Are Switching to Paybis
BitPay built its reputation as a merchant payment processor for businesses accepting crypto payments. If you hold crypto as an individual and need to move it, manage it, or sell it quickly, BitPay’s infrastructure can feel rigid. Users switch to Paybis for three specific reasons: instant human support when funds are in transit, transparent fee structures shown before clicking “confirm,” and faster transaction processing.
Paybis’ 24/7 live chat support connects you with real people, not bots, with an average response time of approximately 15 seconds. Paybis has earned 30,380+ Trustpilot reviews with a rating of 4.1. When you’re moving $500 or $5,000 worth of Bitcoin and the transaction hasn’t appeared yet, waiting hours for a ticket response isn’t acceptable. One user described their experience:
Paybis operates in 180+ countries with support for over 70 fiat currencies, meaning after your crypto arrives, you can sell it directly to your local currency. The platform is registered with FinCEN in the United States and FINTRAC in Canada, providing regulatory clarity that individual users increasingly demand.
| Feature | BitPay | Paybis |
|---|---|---|
| Use | Merchant pay | Buy & hold |
| Support | Ticket based | 24/7 chat |
| Deposit | Method set | No crypto fee |
| Verify | Days | <15 min |
Understanding Self-Custody and Wallet Migration
Moving from BitPay to Paybis is a standard wallet-to-wallet transfer on the blockchain. Yes, it’s just like sending Bitcoin to a friend. Your BitPay wallet holds your crypto; when you send it to your Paybis deposit address, blockchain network processes the transfer. This guide covers the exact steps below.
Critical concept: crypto transactions are irreversible. Once a transaction confirms, no one, Paybis or BitPay, nor any support team, can reverse it. This is why we emphasize address verification in Step 3.
Paybis wallet functionality includes both deposits and withdrawals, meaning you can send crypto in and later send it out to any external wallet you choose. Watch this guide on deposits and withdrawals for visual confirmation.
Step 1: Create and Verify Your Paybis Account
Creating your Paybis account takes approximately 2-3 minutes when you have your documents ready. Navigate to paybis.com/user/register and enter your email address and password. The platform immediately prompts you for basic verification, required by financial regulations in most jurisdictions where Paybis operates.
KYC verification process accepts passports, driver’s licenses, residence permits, and government-issued ID cards. You’ll provide your full name, date of birth, residential address, and upload a photo of your ID document plus a selfie for liveness verification. U.S. customers require additional information: your Social Security Number (SSN) or Individual Taxpayer Identification Number (ITIN).
“I appreciate Paybis for its ability to facilitate instant cryptocurrency purchases using my card, which significantly enhances the efficiency of my transactions. I enjoy the consistent and fast performance Paybis offers, ensuring reliable and swift operations every time I use it. I value the feature that allows me to buy crypto with my card and have it sent directly to my wallet, offering a streamlined and direct process that removes unnecessary steps and complexity.” – Denis I on G2
For visual guidance, watch this quick verification guide video. If your verification gets rejected, the most common issue is photo quality: ensure all four corners of your ID are visible, the text is readable, and you’re not using flash or webcams that blur the image.
Step 2: Locate Your Paybis Deposit Address
After verification approves, log into your account, click “Member area” (top right), then select the “Wallet” tab (top left). If no wallets appear, click the “Plus in the circle” button to create a wallet for the specific cryptocurrency you’re transferring from BitPay.
Select the exact asset you’re migrating: Bitcoin (BTC), Ethereum (ETH), or whichever crypto you hold in BitPay. Sending Bitcoin to an Ethereum address results in permanent loss of funds.
When you select “Deposit,” a window displays your wallet information with two options: scanning the QR code on your screen or copying the wallet address as text. For desktop users migrating from BitPay, copying the address is typically easier.
Critical warning: Before copying this address, verify you’ve selected the correct network. Bitcoin exists on multiple networks, and tokens like USDT exist on Ethereum (ERC-20), Tron (TRC-20), and other chains. Sending to the wrong network typically means your funds are unrecoverable. BitPay should clearly indicate which network your crypto is on: match it exactly when creating your Paybis deposit wallet.
Step 3: Send Funds From Your BitPay Wallet
Open your BitPay wallet and locate the “Send” function. You’ll paste the Paybis deposit address you copied in Step 2. Before you do, understand the biggest security threat: clipboard hijacking malware that replaces crypto addresses on infected devices.
Critical safety protocol: After pasting the Paybis address into BitPay, verify the ENTIRE address character-by-character. Compare the pasted address against the original in your Paybis wallet, confirming every character matches. Malware specifically targets cryptocurrency transfers by swapping addresses at the moment you paste.
Enter the amount you want to transfer. BitPay will display an estimated network fee: this is the fee paid to Bitcoin miners (or Ethereum validators) for processing your transaction, not a fee to BitPay or Paybis. As of early 2026, Bitcoin network fees average around $0.82 during normal conditions, while Ethereum fees average approximately $0.54. Both can spike during network congestion.
BitPay typically offers fee options: “Economy” (slower, cheaper), “Normal” (standard speed), or “Priority” (faster, more expensive). For migration purposes, Normal is appropriate. Network congestion affects processing speed: Bitcoin blocks are mined approximately every 10 minutes on average, but during high congestion, it can take 30-60 minutes per confirmation.
Confirm the transaction in BitPay. Once confirmed, BitPay will broadcast your transaction to the blockchain and provide a Transaction ID (TxID). Save this TxID for tracking in Step 4.
Step 4: Confirm the Transaction on the Blockchain
After BitPay broadcasts your transaction, miners process it and add it to the blockchain. This typically takes 15-30 minutes for Bitcoin during normal network conditions. You can track progress using your Transaction ID (TxID).
Your TxID is a unique identifier for this transfer. Copy it from BitPay, then paste it into a blockchain explorer: blockchain.com/explorer for Bitcoin or etherscan.io for Ethereum. The explorer shows your transaction status, number of confirmations, and estimated completion time.
Your Paybis wallet transaction history updates automatically once confirmations complete. Transaction history is color-coded: green indicates incoming transactions (deposits), red indicates outgoing transactions (withdrawals).
If your deposit hasn’t appeared after the expected time, contact support by providing your TxID. Contact support live chat, available 24/7.
Fee Breakdown: What This Transfer Actually Costs
Understanding exactly what you pay for a migration helps eliminate surprise costs. This transfer involves three fee types, but only one costs you money during migration.
BitPay Outbound Fees: BitPay does not charge a service fee for sending cryptocurrency out of your wallet. However, you must pay the blockchain network fee, which BitPay displays before confirmation.
Paybis Deposit Fees: Paybis charges zero fees for incoming cryptocurrency deposits. The full amount you sent (minus the network fee paid to miners) appears in your Paybis wallet balance.
Network Fees: These fees go to blockchain miners or validators, not to any platform. The fee fluctuates based on network congestion. During periods of high transaction volume, fees spike; during quiet periods, they drop.
| Fee type | Receiver | Cost | Timing |
|---|---|---|---|
| BitPay fee | BitPay | $0 | Never |
| Network | Miners | $0.82–3.95 | On send |
| Paybis dep | Paybis | $0 | Never |
Example scenario: You migrate $1,000 worth of Bitcoin from BitPay to Paybis. BitPay shows a network fee of $2.50. You confirm. The blockchain deducts $2.50, and $997.50 arrives in your Paybis wallet. Total migration cost: $2.50 (0.25%), paid entirely to miners.
After your crypto arrives in Paybis, if you choose to sell it for fiat currency, separate fees apply. Paybis displays these upfront: fees start from 1.49% for card transactions, plus payment processing fees depending on your currency and payment method. These selling fees are shown in full before you confirm any transaction.
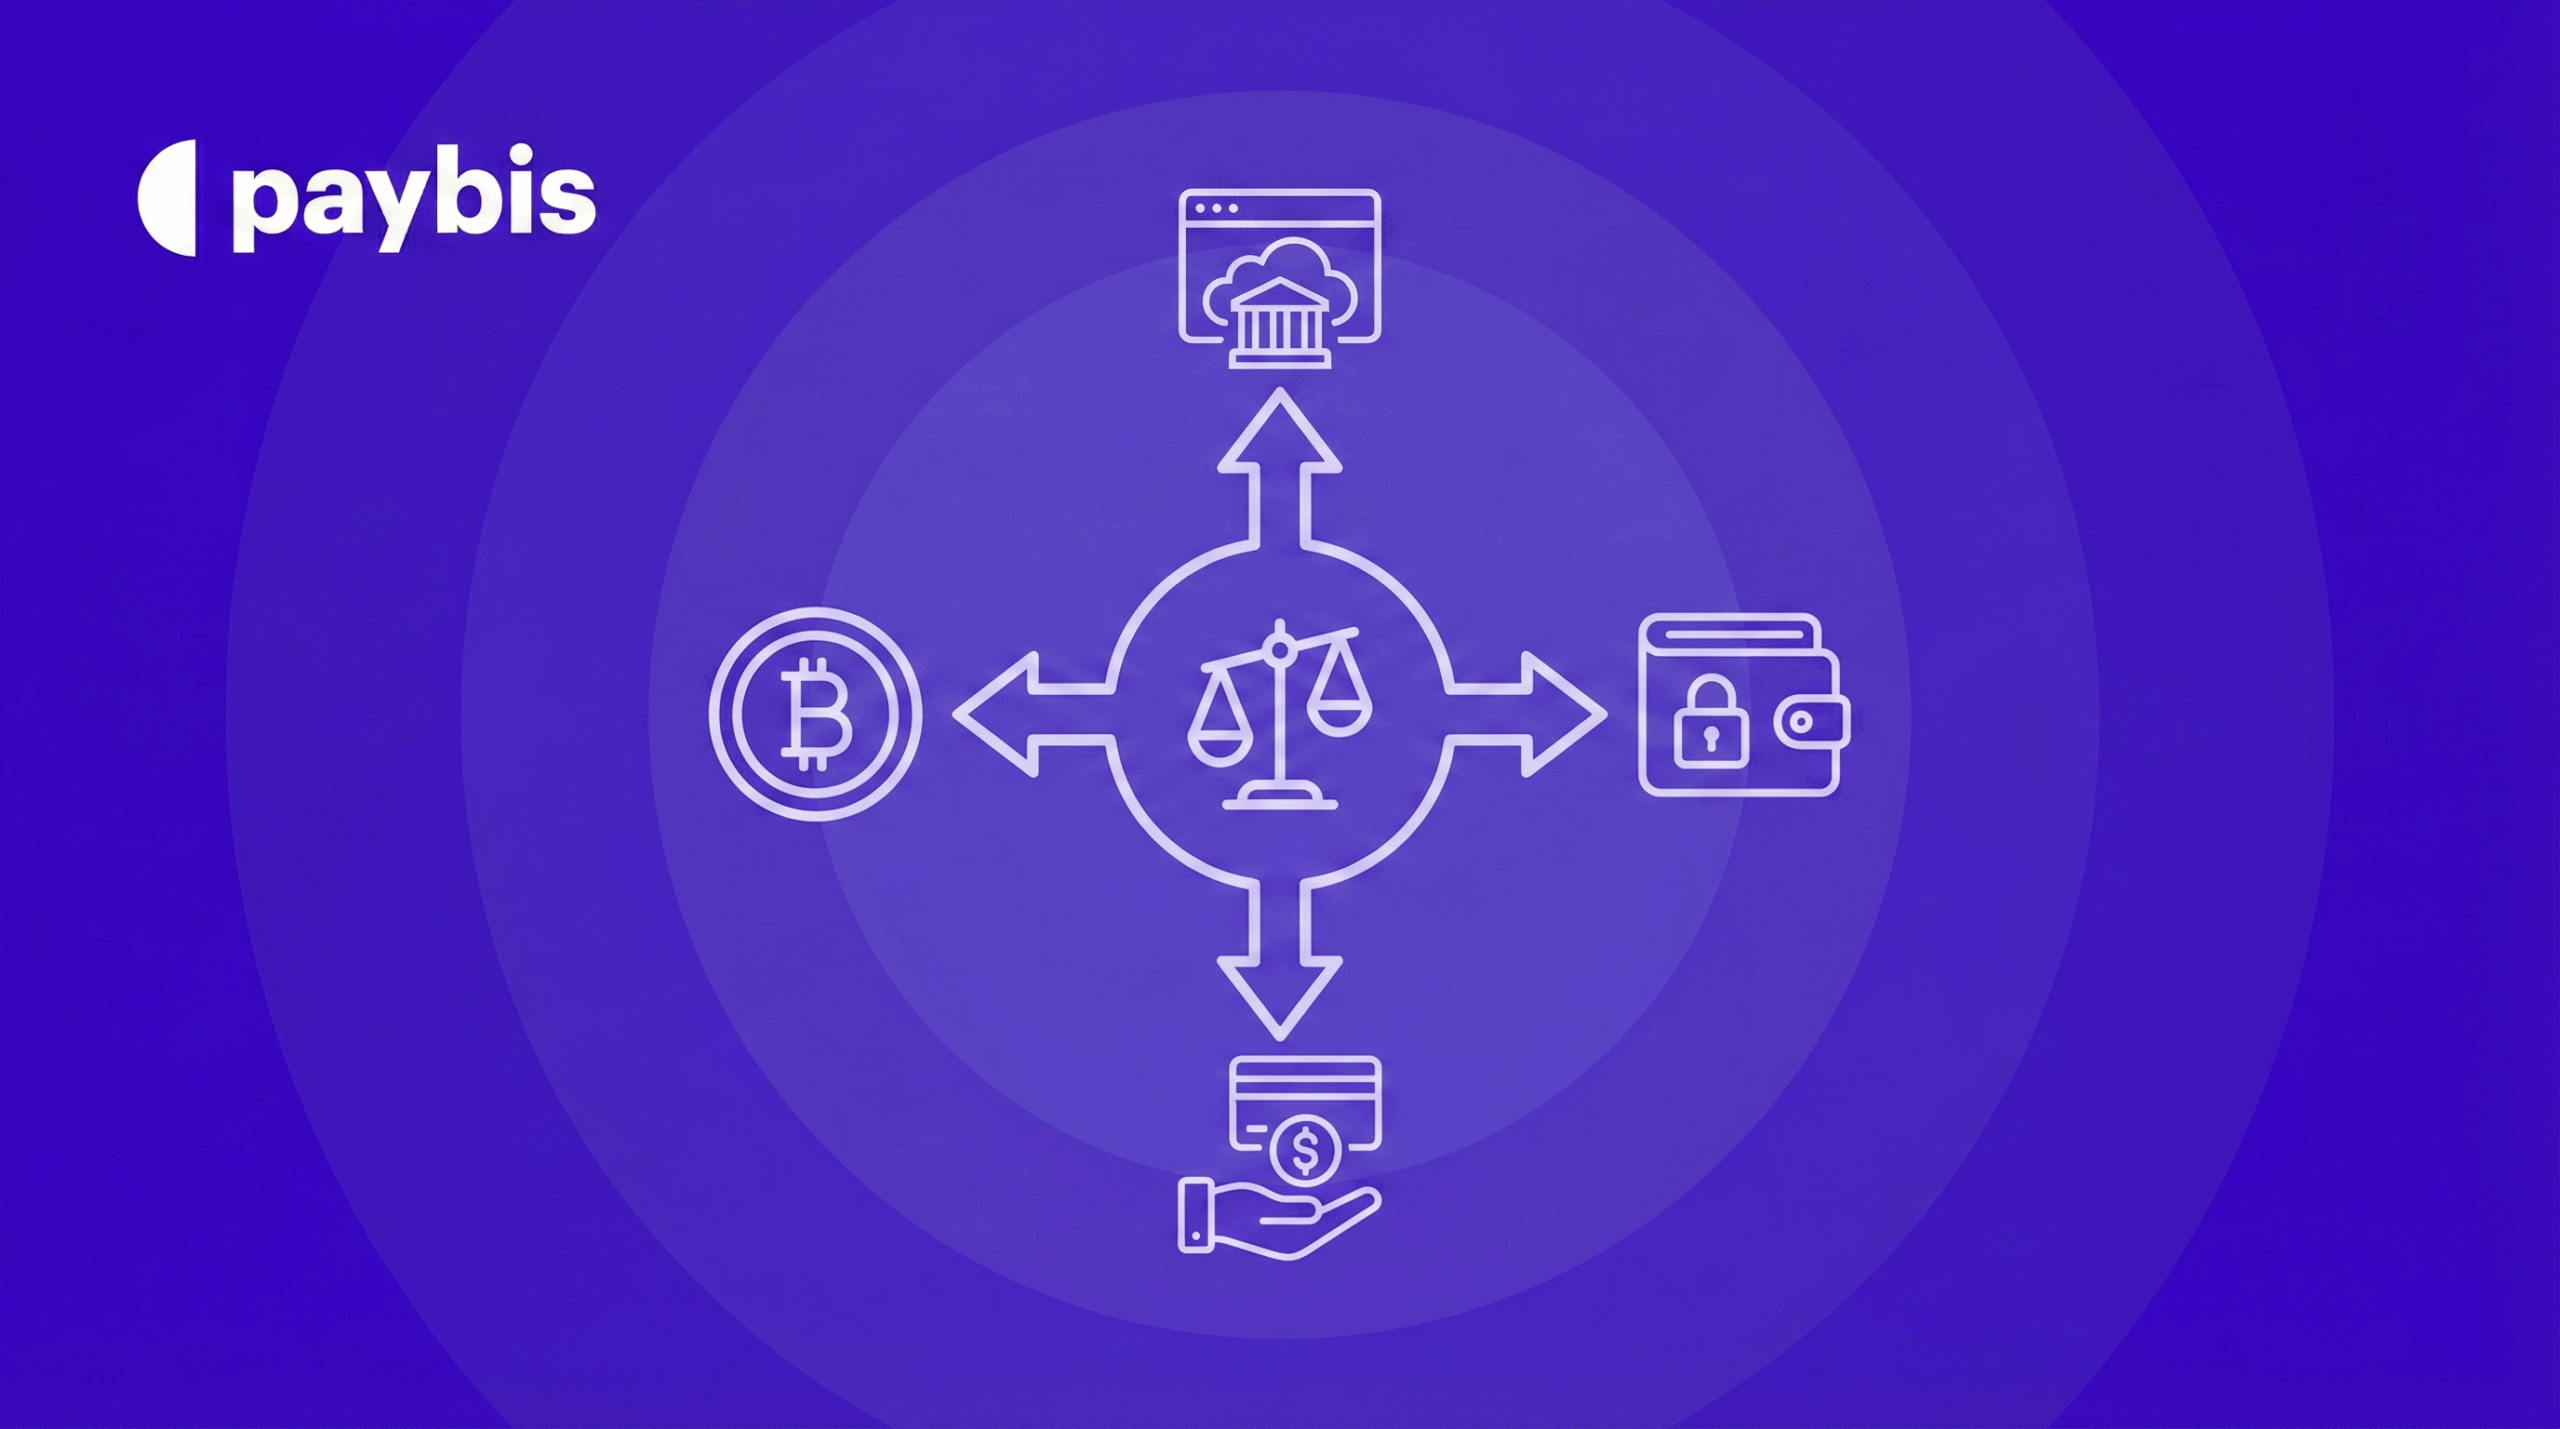
Next Steps After Your Funds Arrive
Your crypto has migrated successfully. Here’s what you can do now:
Hold securely: Your funds remain in your Paybis wallet with the majority stored in cold storage. Enable two-factor authentication in account settings for additional security.
Sell for fiat currency: Convert your crypto to cash in over 70 currencies. Fees are shown upfront before confirmation: service fees start from 1.49% for card transactions, plus payment processing fees depending on your currency. Watch this selling guide for instructions.
Swap to other cryptocurrencies: Paybis supports swapping between 90+ cryptocurrencies directly within your wallet. Watch this crypto swap tutorial for guidance.
Withdraw to external wallet: Paybis supports withdrawals to any external wallet address if you prefer self-custody. You’ll pay the standard network fee for this transaction.
Ready to complete your migration? Create your verified Paybis account and access your deposit address in under 5 minutes. For additional platform guidance, watch this comprehensive buying tutorial.
Key Terminology
Wallet Address: A unique string of letters and numbers (typically 26-35 characters) that identifies where cryptocurrency should be sent on the blockchain. Similar to a bank account number but public and permanent.
Network Fee: The cost paid to blockchain miners or validators for processing and confirming your transaction. This fee varies based on network congestion and is not controlled by any platform.
Blockchain Confirmation: The process by which miners or validators verify and permanently record your transaction in the blockchain. Each confirmation represents another block added after yours, increasing transaction security.
TxID (Transaction ID): A unique identifier assigned to every blockchain transaction, allowing you to track its status on public blockchain explorers like blockchain.com or etherscan.io.
Custody: Who controls your cryptocurrency. Custodial wallets (like Paybis) manage the technical security details for you. Self-custody means you control everything directly via hardware or software wallets, requiring you to manage backup phrases and security yourself.
FAQ
Transaction stuck pending for hours?
Bitcoin processes blocks every 10 minutes on average, but network congestion can extend this to 30-60 minutes per block. If you selected a low network fee in BitPay, miners may prioritize other transactions. Your transfer will eventually confirm. Check the blockchain explorer using your TxID to see pending transaction status.
Sent to the wrong address?
Contact support immediately with your TxID. Crypto transactions are irreversible by design. While recovery is unlikely if the address doesn’t belong to a Paybis user, the support team will verify the address and explore any options.
Sent to correct address but wrong network?
If you sent USDT on the Tron network (TRC-20) to a Paybis address configured for USDT on Ethereum (ERC-20), the funds will not appear. Contact Paybis support with your TxID: some network mismatches are recoverable through technical processes, but this requires manual intervention.
Verification keeps failing?
The most common issues: poor photo quality, flashlight reflection obscuring details, webcam blur, or mismatched information. Ensure all four corners of your ID are visible, all text is readable, and maximum document size is 5MB. Take photos in natural daylight without flash. For detailed guidance, watch this KYC verification step-by-step video.
Transaction not appearing after confirmations?
First verify the transaction actually sent by checking the blockchain explorer with your TxID. If the explorer shows multiple confirmations but your Paybis balance hasn’t updated, contact support with your TxID, cryptocurrency type, and amount sent.
How long until I can withdraw or sell?
After your deposit receives the required blockchain confirmations, you can immediately withdraw the crypto to another wallet or sell it for fiat currency. There are no holding periods or restrictions on deposits migrated from other wallets.
Disclaimer: Don’t invest unless you’re prepared to lose all the money you invest. This is a high‑risk investment and you should not expect to be protected if something goes wrong. Take 2 mins to learn more at: https://go.payb.is/FCA-Info