All posts
-
Wall Street’s 2026 Bitcoin Predictions: Grading the Big Calls at Halftime
In January, the biggest names in finance published their Bitcoin targets for 2026. Some bold, the others cautious. But it... -

Bitcoin Falls to $58,000, Sparks $4 Billion ETF Exodus as Whales Buy $16.7 Billion
Bitcoin crashed to its lowest point in 21 months, below $58,000, as investors worried about rising interest rates and global... -

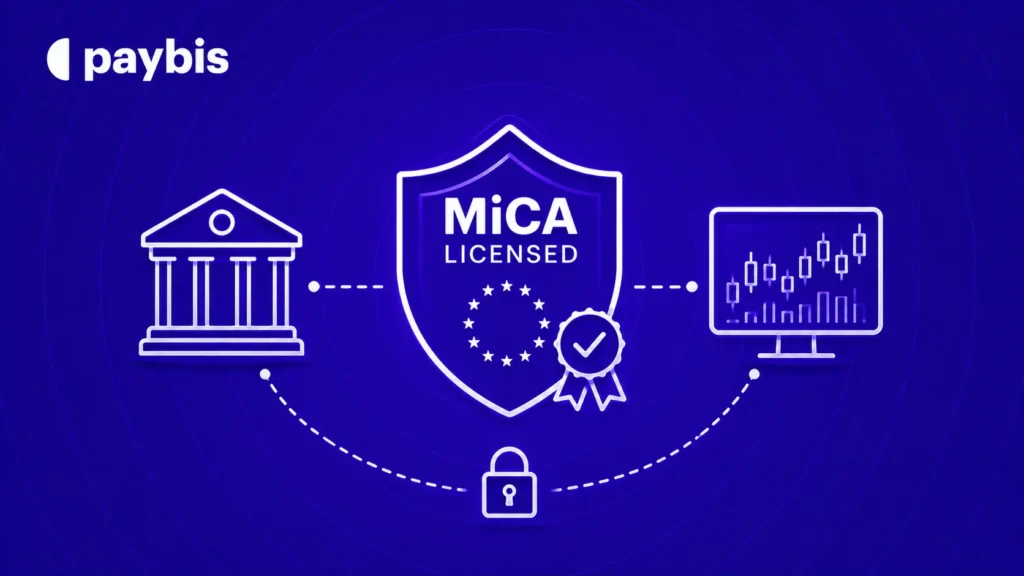
Why Choose Paybis after July 2026?
Crypto in Europe reached a turning point on July 1, 2026. As of that date, platforms without a full licence... -
Get the Paybis AppGet the Real Crypto. Get it in 30 seconds.


-
We Compared 22 Crypto Platforms’ Fees to Find Out What You’re Actually Paying
Paybis has been processing crypto transactions since 2014. Over that time, we observed that one question came up in support... -
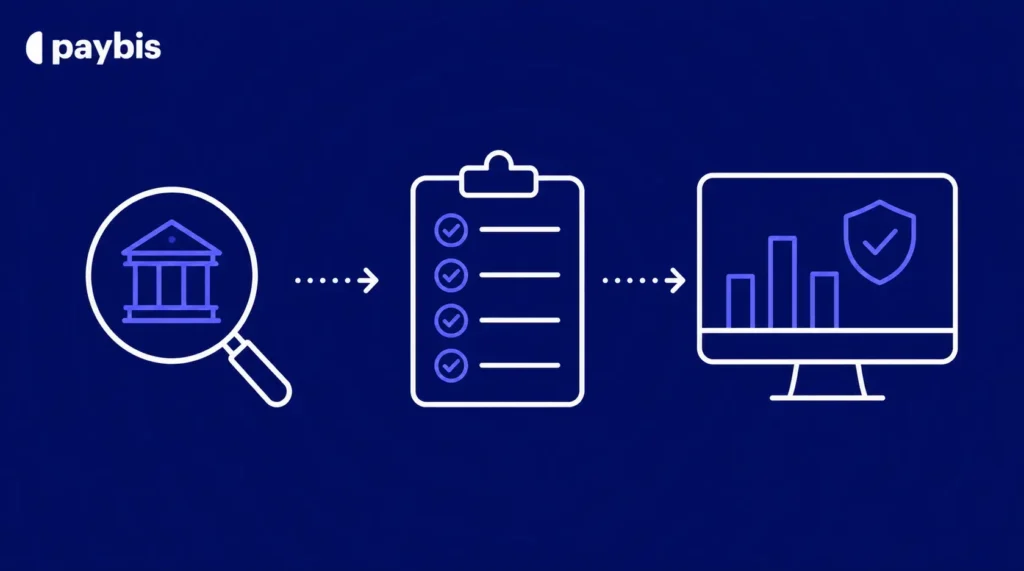
Is Your Crypto Exchange Regulated? How to Check
You picked an exchange, funded an account, and maybe bought some crypto. Then a thought lands: is this platform actually... -
Europe’s Crypto Regulation Landscape: MiCA & Beyond
For years, crypto regulation in Europe meant 27 different answers to the same question. Each country wrote its own rules,... -
How to Choose a Regulated Crypto Exchange
Picking a crypto exchange used to come down to two things: the fees and the list of coins it carried.... -
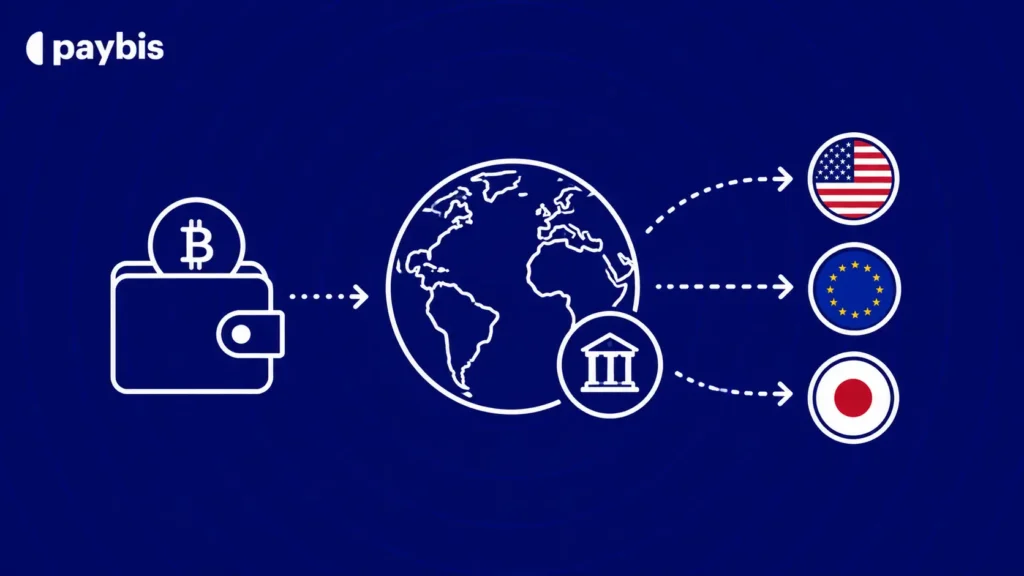
Crypto Withdrawal by Country: Rules, Limits & Methods That Work Locally
Crypto assets can increase or decrease in value. Paybis is a payment gateway, not an investment service. This content is... -
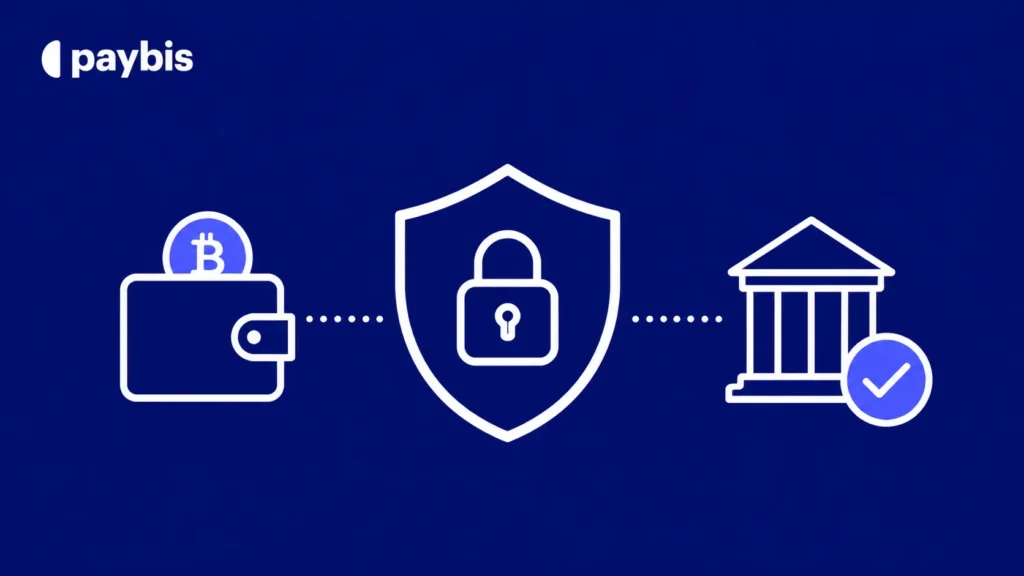
Crypto Withdrawal Security: Protect Your Cash Before It Hits Your Bank
Crypto assets can increase or decrease in value. Paybis is a payment gateway, not an investment service. This content is... -
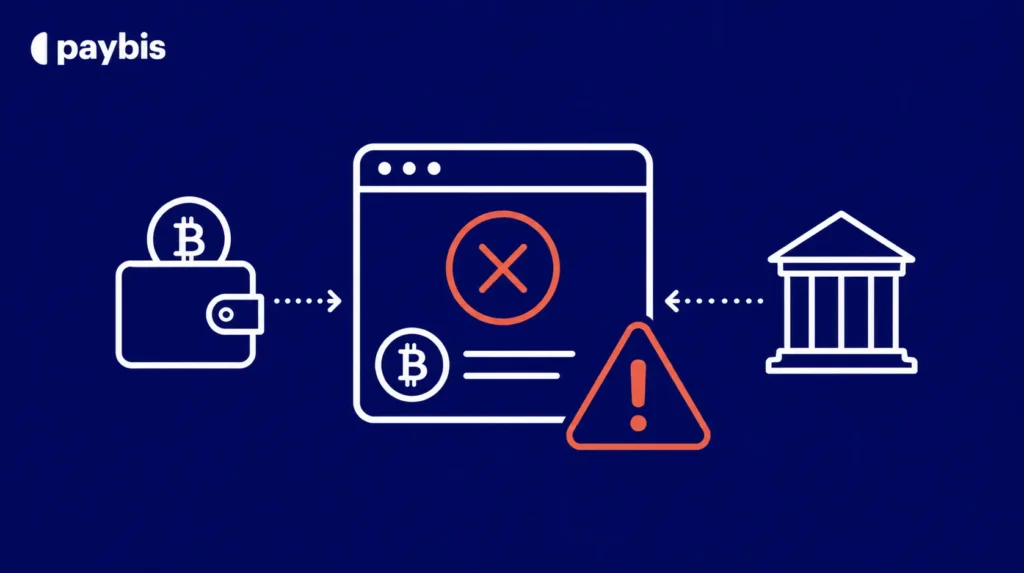
Why Your Crypto Withdrawal Failed: Common Rejection Reasons & Fixes
Crypto assets can increase or decrease in value. Paybis is a payment gateway, not an investment service. This content is...